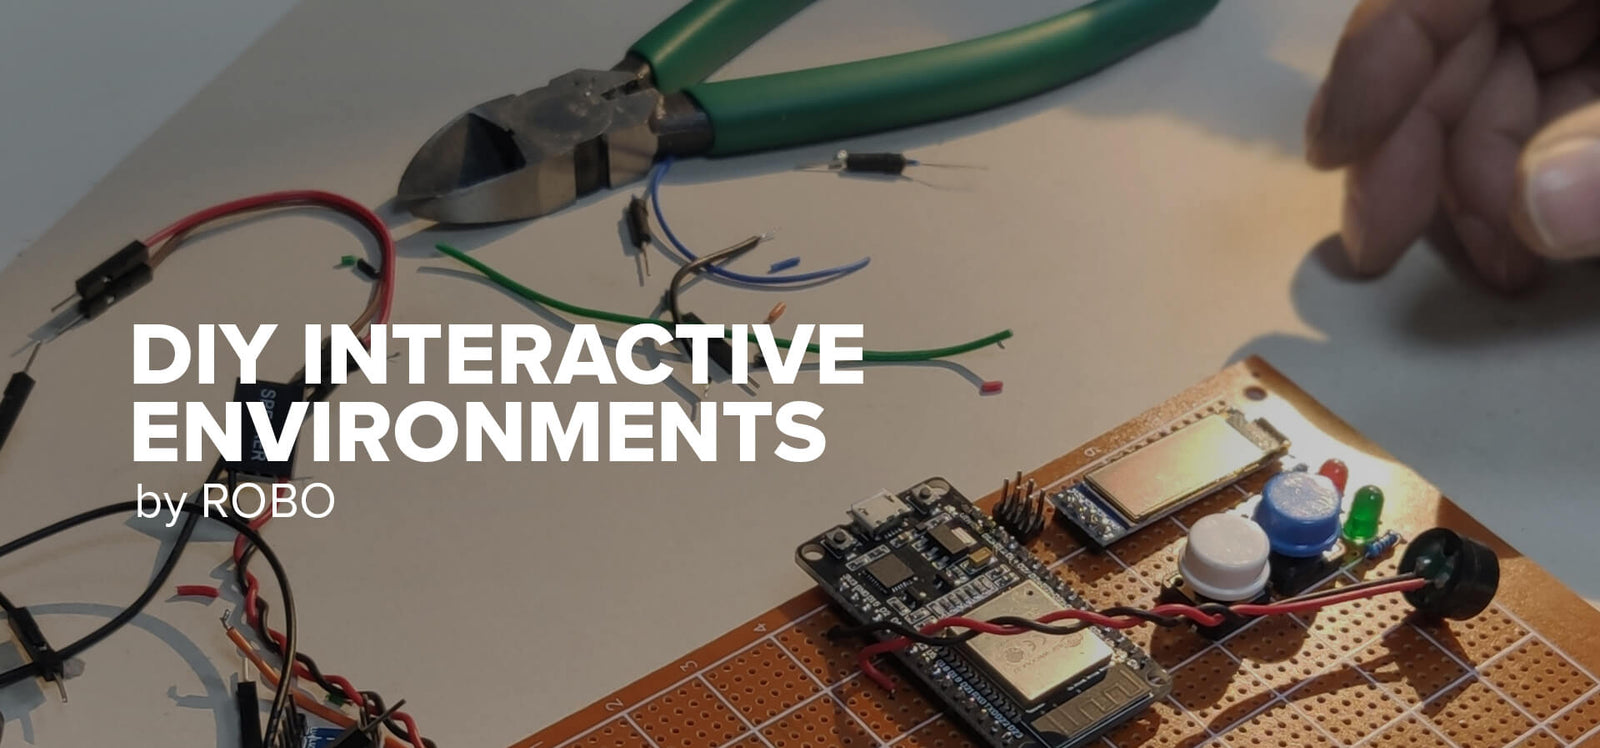
This project was designed as a part of the introductory 2 day Interactive Environments Workshop (OCT21) funded by CYENS - Thinker Maker Space.

ROOM 2045
The scene is set in a future house room in 2045! It's not about the tech level that the scene is set in the future, there are a lot of similar solutions and products already available in the market, it's more about getting used to them and having them around in our daily life. We will build a room light that switches itself on when needed, convert a whole wall to a fan switch and set up an interactive art element for the room.
PARTS LIST:
- The brain - Arduino UNO
- Light intensity sensor - Photoresistor
- A headlight, a 5050 neopixel a just a LED to simulate the room’s light
- A fan or just a motor
- Shock & Knock Sensor
- Motion sensor
- Wires - Dupont Wires Kit
PART 1 - KNOCK IT
Are you walking through the room just to switch on the fan? Why not just convert the whole wall into a switch? We could do so by attaching the correct sensor on a wall! In order to simulate the idea we will use a shock & knock sensor.

Arduino commands used:
Example sketch:
void setup() {
pinMode(2,OUTPUT);
}
void loop() {
Serial.println(digitalRead(2));
}
Challenge #1:
Write a sketch to sense when there is a knock on the wall to turn on the fan for five seconds.
TIP - The fan is very simple to use, it just needs some power, use digitalWrite() to achieve it!
PART 2 - NO SWITCHES
When walking into a dark room, wouldn't it be almost the perfect solution to have the room light to automatically turn on? Well using a motion sensor, a light intensity sensor and a headlight we can build it!

Arduino commands used:
Example sketch:
void setup() {
pinMode(3,OUTPUT);
pinMode(4,INPUT);
}
void loop() {
if (digitalRead(4) == HIGH){
analogWrite(3,5);
delay (5000);
} else {
digitalWrite(3,LOW);
}
}
Challenge #2:
Write a sketch to sense when it's dark and a person comes inside the room to light up the LED.
TIP - If the LED is very bright use analogWrite() to control the intensity.
PART 3 - INTERACTIVE ART
What about having interactive art elements in our rooms in the future? We will create a colorful led panel that will change behaviour as soon as an object comes close. The ultrasonic distance sensor and the LED panel require a library to be installed in order to use it with ease, you can install the “Bifrost Library for HC-SR04” and Adafruit_NeoPixel from Sketch -> Include Library -> Manage Libraries

Arduino commands used:
This module uses only library commands, no native Arduino commands are needed.
Example sketch - ultrasonic sensor:
#include <hcsr04.h>
HCSR04 hcsr04(6, 5, 20, 4000);
void setup(){
Serial.begin(9600);
}
void loop() {
Serial.println(hcsr04.distanceInMillimeters());
delay(250);
}
Example sketch - led panel:
#include <Adafruit_NeoPixel.h>
Adafruit_NeoPixel pixels(16,4,NEO_GRB+NEO_KHZ800);
void setup() {
pixels.begin();
}
void loop() {
pixels.setPixelColor(0,200,0,0); //setPixelColor(PIXEL ID,R,G,B), where RGB values from 0-255
pixels.show();
delay(10);
}
Challenge #3:
Write a sketch to sense when an object is close and make the LED wall change colors as soon as the object gets closer.

Structural Funds- make space
The project “Nicosia entrepreneurship and innovation Hub” that includes the operation of the Thinker Maker Space of the CYENS Centre of Excellence, is co-financed by the European Regional Development Fund (ERDF) of the EU in the framework of the Operational Programme “Competitiveness and Sustainable Development 2014-2020”, Priority Axis6: “Integrated Sustainable Urban Development for the Programming Period 2014-2020, from the Republic of Cyprus and Nicosia Municipality.
European Union – Horizon 2020
CYENS CoE was established through the RISE project that has received funding from the European Union’s Horizon 2020 Research and Innovation Programme under Grant Agreement No 739578 and the Government of the Republic of Cyprus through the Deputy Ministry of Research, Innovation and Digital Policy.

