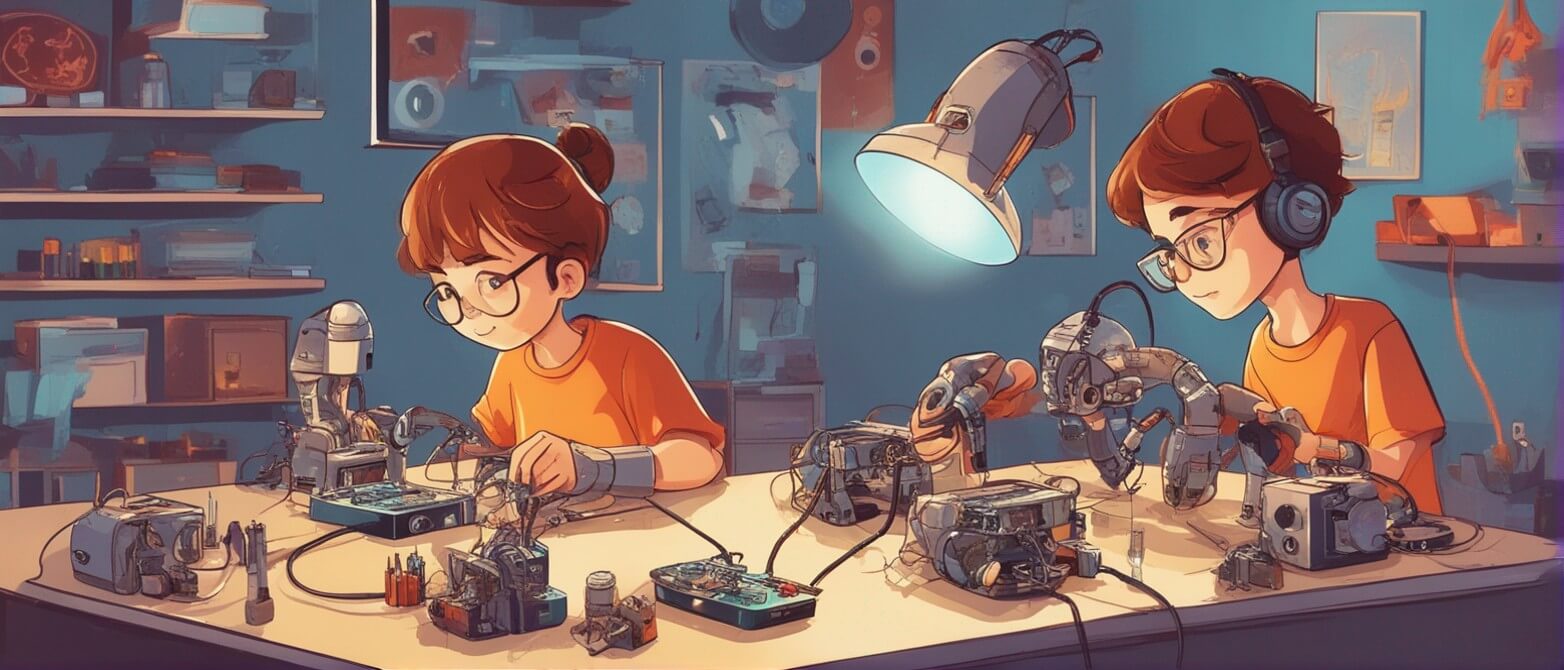
Hey there, future tech whizzes and robot enthusiasts! Are you ready to embark on an electrifying adventure into the world of robotics? Well, grab your safety goggles and buckle up, because today we're diving headfirst into the exciting art of soldering with your very own DIY soldering kit. Don't worry, it's as simple as putting together a puzzle!

What's Soldering Anyway? Soldering is like magic for robots. It's the process of joining electronic components together using a special metal called solder. Imagine solder as the glue that makes robots tick – without it, they wouldn't know left from right!
There are great videos and content out there already!
- How to Solder: Through-Hole Soldering - Sparkfun Article
- Adafruit Guide To Excellent Soldering - Adafruit Article & Video
- SparkFun How to Solder with David Stillman - Video
Safety First, Superheroes! Before we unleash our inner mad scientists, let's gear up with safety essentials. Remember, superheroes wear capes, but they also wear safety goggles and work in a well-ventilated area. Adult supervision is a must – even Tony Stark had Jarvis looking out for him!
Meet Your Toolkit:
The most basic tools you will need are listed below:
- Soldering Iron: Your trusty wand for melting solder.
- Solder Wire: The magical metal that turns into glue.
- Components: The robot's building blocks.
- Sponge: To clean your soldering iron's tip.
For those who want to equip themselves with the perfect set that will support you from beginner to an advanced level of soldering and project, you can refer to our following magical combo 🪄 :
A Step-by-Step Robot Revival: Time to roll up those sleeves and get your robot assembly skills on point!

Step 1: Prepare Your Station Set up your work area with good lighting and ventilation. Arrange your components and tools so they're ready for action.
Step 2: Fire up the Soldering Iron Plug in your soldering iron and give it a few moments to heat up. While it's warming up, dampen the sponge to keep your soldering iron tip clean.
Step 3: Fit the Components Place the components on the board, following your kit's instructions. The components might look like a puzzle, but remember, you're the master puzzler!
Step 4: Let the Magic Flow Touch the soldering iron's tip to both the component lead and the board pad at the same time. Once they're hot, introduce a little bit of solder. Watch as it melts and wraps around the two like a robot's warm hug.
Step 5: The Cooling Ritual Hold your breath and wait for a moment as the solder cools down and hardens. You're giving life to your robot – isn't that cool?
Step 6: Snip, Snip! Trim the excess component leads carefully with your wire cutters. Just like giving your robot a haircut!
Step 7: Celebrate Your Robotic Creation! Congratulations, you've soldered your way into the robot realm! Admire your creation, show it off to friends and family, and bask in the glory of your soldering success!

A Few Tips from the Soldering Sorcerer:
- Practice makes perfect, so don't be discouraged by your first attempt.
- Keep a steady hand – robots appreciate precision!
- Clean your soldering iron's tip regularly to keep the magic flowing smoothly.
- If in doubt, ask for help from a more experienced soldering superhero.
Time to Conquer the Robot Universe! With your newfound soldering skills, you're now armed to take on the robot universe. As you hone your talents, you'll unlock doors to creating incredible gadgets, gizmos, and maybe even your own robot army (friendly, of course)!
So there you have it, young robotics enthusiasts! Soldering is your ticket to joining the ranks of tech trailblazers. Remember, every robot you assemble brings you one step closer to being the next tech legend. Now, go forth and solder your way to greatness – the robot realm awaits! 🤖🔌🛠️

